Hello, today we’ll continue with the post series “GoDaddy Hosting Guides“. We have finished the previous guide post (7 Steps to buy Cheap WordPress Hosting), and now we had a wordpress hosting package at GoDaddy. The next step, we’ll setup a wordpress blog on this hosting.
How to setup WordPress on GoDaddy WordPress Hosting ?
Step 1: Go to GoDaddy, and then Login to Account Manager
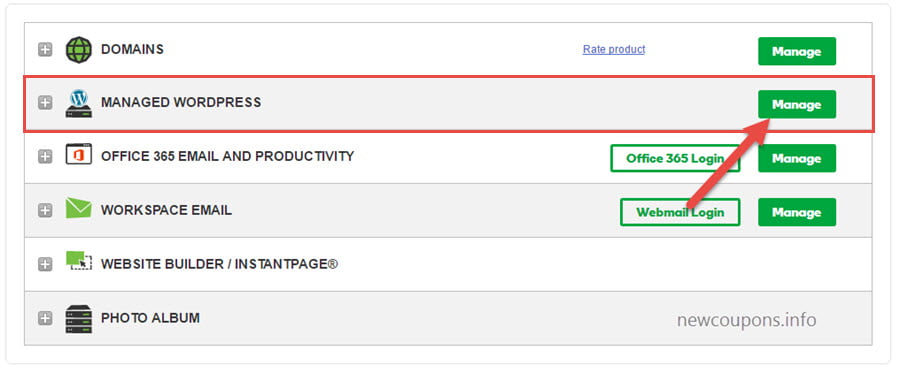
Step 2: On GoDaddy Account Manager, you click to the Manage button at right of the Managed WordPress section.
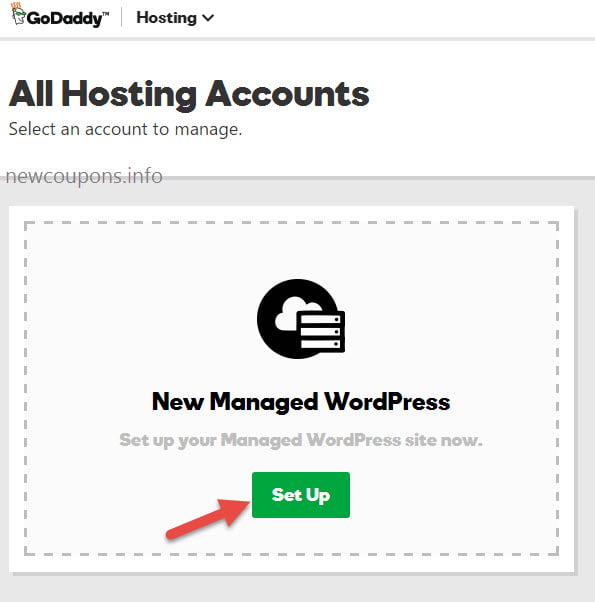
Step 3: Click the Setup button on this page.
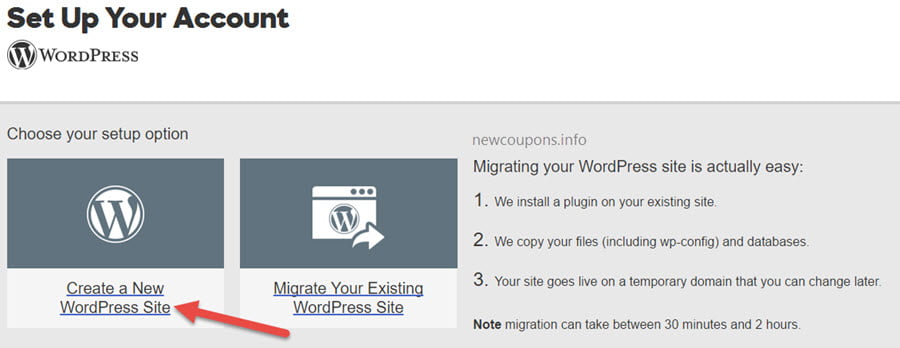
Step 4: This step have 2 options for you choose.
If you create new wordpress blog, simple click to the section Create a New WordPress site. Or if you want migrate your existing wordpress blog to this hosting, you click to the section Migrate your existing WordPress Site. At here, we’ll choose create new wordpress blog.
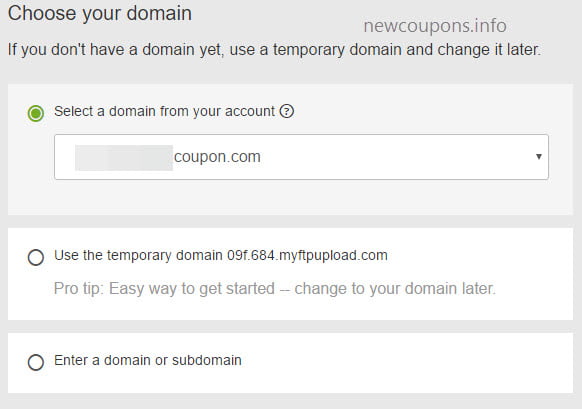
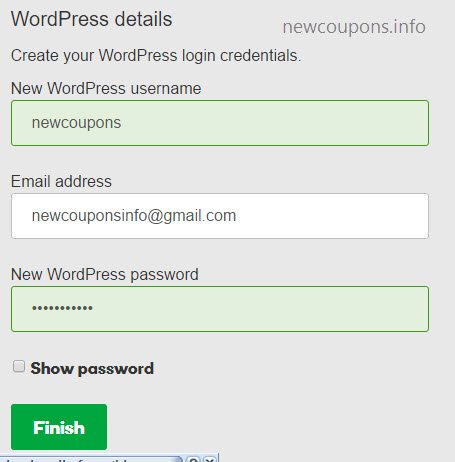
Step 5: Final step to setup wordpress blog on godaddy wordpress hosting. This step have 3 options that you must setup to your wordpress blog.
Select a domain from your account: You can use one domain in your account to setup this blog. We’ll choose this option because we had a free domain in the previous post.
Use the temporary domain xxx.xxx.myftpupload.com: If you not have any domain name in your account, you can choose this option. this option is easy way to get started, and you can change to your domain later.
Enter a domain or subdomain: You have domain names at another registrar, enter it to here, then update DNS A record to this hosting (IP Hosting is showing below this input button)


