This guide will help you know how you can dns a domain name registered at GoDaddy to a Droplet at DigitalOcean. But first of all, you will need to have a domain name that registered at GoDaddy and a Droplet at DigitalOcean. 
Step 1: Create a DigitalOcean Droplet
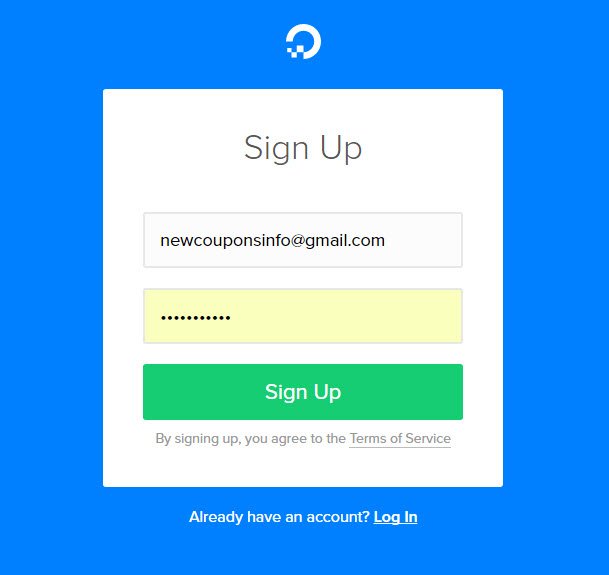
You will need to have a Digital Ocean account before create a Droplet, visit to DO registration page, enter your email address and password to sign up.

Confirm your account by clicking the link in the welcome email, you will be redirecting to the Verification tab. At there, you select your preferred payment method and fill all your informations to required fields.
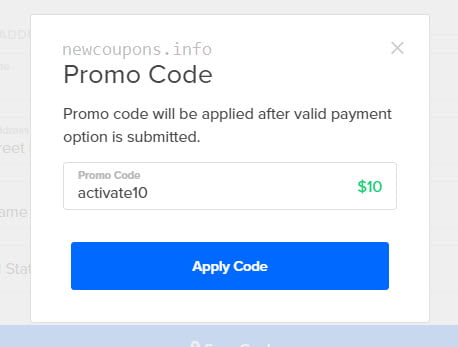
Don’t forget scrolling to bottom of that page and click to the link ‘Have a Promo Code?‘, paste a digitalocean promo code to receive some free credits, then click Save Card button.
Next, following all steps on this guide to create a new Droplet.
Step 2: Point GoDaddy Domain to DigitalOcean NameServers
After finished the step 1, you had a Droplet deployed. Now, we’ll continue with changing the nameservers of your domain. If you do not have a domain at GoDaddy, you can use these godaddy 99 cent coupons to get a new .COM domain at just $0.99/year.
Next, select Custom then enter the following nameservers:
- ns1.digitalocean.com
- ns2.digitalocean.com
- ns3.digitalocean.com
Then click Save button to finish.
Note that after you add custom nameservers, it can take up to 48 hours to reflect on the Internet. Now that your domain has been pointed to DigitalOcean’s nameservers. Next step is how connect your domain to your Droplet in DO control panel.
Step 3: Configure your Domain in DO control panel


Finish up, take a while to the change effected. You can confirm by pinging to your domain. If you see your droplet ip address, You’re done !
That all in this guide, Hope can helps 🙂


